Water bag training is shaking up the fitness world with its unpredictable, real-life challenge to your balance, coordination, and muscle control. This innovative training method engages your entire body in ways that traditional weights or machines cannot. If you’re looking for a functional, versatile, and joint-friendly way to level up your workouts, you’re in the right place. Water bag training is not just a passing trend; it’s a science-backed approach that enhances strength, stability, and athletic performance.
In this guide, we’ll break down what water bag training is, why it works, and how to get started. Whether you’re a beginner, an experienced athlete, or someone focused on functional fitness, you’ll discover how this unique form of resistance training can profoundly transform your fitness journey. By understanding the benefits and best practices, you can incorporate water bag exercises into your routine safely and effectively, maximizing results and minimizing injury risk.
Key Takeaways
- Water bag training uses shifting water resistance to engage core, stabilizing muscles, and the entire body, improving strength, balance, and coordination.
- It provides functional, joint-friendly workouts suitable for all fitness levels, mimicking real-life lifting and movement scenarios.
- Exercises can target upper body, lower body, and full-body movements, offering scalable intensity for beginners and pros alike.
- Water bags are portable, versatile, and a safe alternative or complement to traditional weights, enhancing athletic performance and injury prevention.
What Is Water Bag Training?
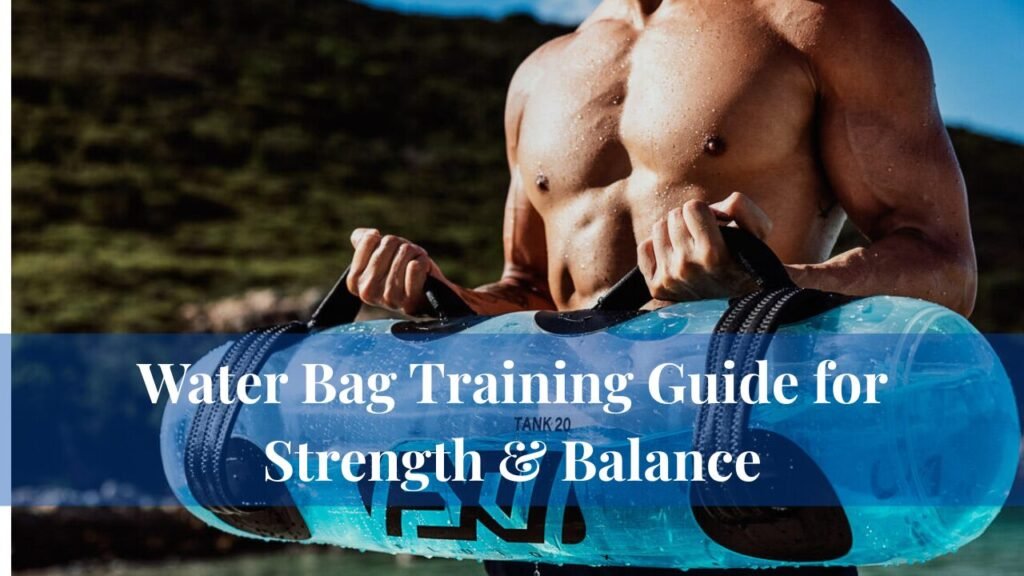
Water bag training involves performing traditional strength or cardio exercises using a transparent, cylindrical bag partially filled with water. Unlike static weights, water inside the bag moves and sloshes around, creating a constantly changing load. This shifting resistance turns each repetition into a battle against an unpredictable force, compelling your body to stabilize itself throughout the movement. The result is increased activation of stabilizing muscles, particularly in the core, shoulders, and lower back, which are often underutilized in conventional strength training.
Water bags are referred to by several names in the fitness industry, including Aqua Training Bags, Hydrocoral Bags, FluidX Power Bags, and Aqua Power Bags. While different brands may vary slightly in shape, size, or features, the underlying principle is consistent: harnessing water’s dynamic resistance to challenge your muscles in new and effective ways. The flowing resistance uniquely combines strength, endurance, and balance training in a single workout session.
The dynamic nature of water bag training forces the body to recruit multiple muscle groups simultaneously. For example, performing a simple squat with a water bag requires not only leg strength but also deep core engagement to prevent tipping or wobbling. This level of full-body coordination enhances both functional strength and athletic performance, making water bag training suitable for a wide range of fitness goals.
Key Benefits of Water Bag Training
Water bag training offers several advantages over traditional weightlifting and cardio routines, providing both functional and holistic fitness benefits. One of the primary benefits is enhanced core activation. Every movement performed with a water bag requires stabilization against the shifting water. Even basic exercises like squats, lunges, or presses engage deep core muscles, helping you develop a strong, stable, and functional midsection. Unlike traditional weights, which can often be lifted with minimal core engagement, water bag training ensures your core is constantly working to maintain balance and control.
Another significant advantage is improved balance and coordination. The unpredictable movement of water challenges your proprioception, or your body’s ability to sense its position in space. Each repetition becomes a test of stability, requiring constant micro-adjustments to maintain proper form. Over time, this enhances overall agility and balance, which can directly translate to improved performance in sports and everyday activities.
Water bag training also promotes functional strength. Because the movements mimic real-world lifting scenarios, such as handling awkward or unstable objects, your body develops strength that is practical and applicable. Lifting children, carrying groceries, or moving heavy furniture all require functional strength, and training with a water bag prepares you to manage these real-life challenges efficiently and safely.
Joint health is another benefit of water bag training. The fluid resistance reduces stress on joints compared to lifting static heavy weights. The natural flow of water absorbs impact, allowing you to perform challenging movements without excessive strain on your knees, hips, or shoulders. This makes water bag training a low-impact and joint-friendly option suitable for individuals at any fitness level, including older adults or those recovering from injury.
Additionally, water bag training provides a comprehensive full-body workout. From explosive cleans to overhead presses, the training engages the upper body, lower body, and core simultaneously. The integration of multiple muscle groups in each movement improves muscular endurance, coordination, and overall athletic performance. Water bags are also highly portable and adjustable, making them ideal for home workouts, outdoor sessions, or gym training. The resistance level can easily be modified by filling or draining water, allowing the exercise intensity to match your fitness level.
Water Bag Exercises for Beginners and Pros
Water bag exercises can be adapted to suit any fitness level, making them suitable for both beginners and advanced athletes. For upper body development, exercises such as the overhead press build shoulder and triceps strength while challenging core stability. The bent-over row engages the back and stabilizing muscles, while a bicep curl into a shoulder press combines multiple upper body movements for enhanced strength and coordination.
Lower body exercises with a water bag are equally effective. Front squats strengthen the quadriceps and glutes while promoting upright posture. Lunges with rotation add a twisting motion, further engaging the core and stabilizing muscles. Good mornings activate the hamstrings and lower back safely, enhancing posterior chain strength.
For full-body and core engagement, exercises such as the clean and press combine explosive power with control and coordination. Russian twists with a water bag add resistance to oblique and abdominal muscles, improving rotational strength and core stability. Bear crawls with a bag pull challenge balance, coordination, and conditioning simultaneously. Beginners should start with lighter water levels to adapt to the shifting load before progressing to heavier or more dynamic movements, ensuring safety and optimal muscle activation.
Water Bag vs Traditional Weights
Comparing water bag training to traditional weights highlights the unique benefits of this approach. Water bag training utilizes dynamic, fluid resistance, whereas traditional weights provide static resistance. This distinction significantly impacts core engagement, with water bags demanding higher activation to maintain balance. Joint stress is lower with water bags due to the fluid’s natural cushioning effect, whereas heavy dumbbells or barbells can place greater strain on joints. Balance and coordination are more thoroughly challenged with water bags, while traditional weights focus primarily on isolated muscle strength. Portability is another factor, as water bags are lightweight when empty, unlike heavy and cumbersome dumbbells. Lastly, water bag training excels in functional strength development, offering real-world applicability that traditional weights may not always provide.
Real-World Use Case
Athletes and fitness professionals have embraced water bag training as part of their conditioning programs, particularly in sports requiring dynamic stability and explosive power. For instance, NFL training camps often incorporate Aqua Training Bags to simulate unpredictable physical stress encountered in games. By mimicking the chaos of a physical match, athletes learn to maintain stability and control under constantly shifting resistance. Similarly, CrossFit enthusiasts, martial artists, and functional training coaches integrate water bags to enhance strength, endurance, and coordination simultaneously. The practical application of water bag training makes it an invaluable tool for both professional athletes and fitness enthusiasts seeking performance improvement and injury prevention.
How to Choose the Right Water Bag
Selecting the appropriate water bag is crucial to maximizing the benefits of this training method. Consider size and weight capacity, as bags can hold between 10 liters to 40 liters of water. Beginners are advised to start with smaller bags, progressing to heavier options as their strength and stability improve. Bag shape also affects exercise versatility. Cylinder-style bags are suitable for a wide range of lifts, while ball-style bags excel in explosive movements like slams. Handled bags provide additional grip positions, supporting presses, carries, and functional lifts.
Durability is another essential consideration. High-quality bags made from thick PVC or military-grade vinyl resist punctures and leaks, ensuring long-term usability. Multiple handles and grip options allow for diverse exercise selection and safer execution of movements. Popular brands such as Aqua Training Bag, FluidX, and Dangerously Fit offer reliable options, combining durability with ergonomic design.
How to Incorporate Water Bag Training Into Your Workout
Incorporating water bag training into your routine requires careful progression and attention to form. Begin each session with a 5–10 minute dynamic warm-up to prepare your muscles and joints for the shifting resistance. Start with 3 sets of 8–10 repetitions per exercise, emphasizing controlled movements and core stabilization. Combining four to five exercises in a circuit creates a full-body workout, integrating strength, endurance, and coordination in a single session. Prioritize form over weight, allowing the water’s movement to provide the primary challenge. Finish each session with a cool-down and stretching routine to promote recovery and flexibility. As your skills develop, gradually increase water volume or integrate more complex, explosive movements to enhance intensity and effectiveness.
FAQs
What muscles does water bag training work?
Water bag training develops all major muscle groups, especially the core, glutes, shoulders, back, and stabilizing muscles, due to its shifting resistance.
Is it safe for beginners?
Yes. Beginners should start with less water and focus on form and control. It’s a low-impact, scalable form of resistance.
Can I use it for cardio?
Absolutely. Combine it with high-intensity moves, slams, bear crawls for a powerful cardio and conditioning workout.
How much water should I use?
Start with 30–50% of the bag’s capacity and increase as you become more proficient.
Can water bags replace dumbbells?
For functional and core training, water bags can be a powerful substitute. However, for maximal strength or muscle growth, traditional weights may be more appropriate. Ideally, the two can be combined for a well-rounded regimen.
Conclusion
Water bag training is more than a fitness trend; it is a scientifically supported approach to improving strength, stability, and coordination. Its dynamic resistance challenges muscles, joints, and balance in ways traditional equipment cannot, making it suitable for a wide range of users, from beginners to elite athletes. The adaptability, joint-friendliness, and real-world application make water bags a valuable addition to any fitness regimen. By integrating water bag training, you engage multiple muscle groups, enhance functional strength, and develop core stability, all while reducing joint stress.
For anyone ready to take their workouts to the next level, water bag training offers a versatile and effective solution. Whether you are aiming to improve athletic performance, increase functional strength, or simply diversify your exercise routine, this method provides a unique and challenging experience that adapts with your progress. Experience the resistance that fights back just like real life and transform your fitness journey with water bag training today.